Introduction
MP4, which can be used in various software and devices like iPod, iPad, iPhone, BlackBerry, PSP, etc. is a popular video format that compresses videos in high quality formats while keeping files relatively small. Also it can be used for streaming Internet video and on-line broadcasting. This tutorial is to show you how to use SpeedEase Video Switch to convert AVI to MP4.
Step 1. Input Video Files
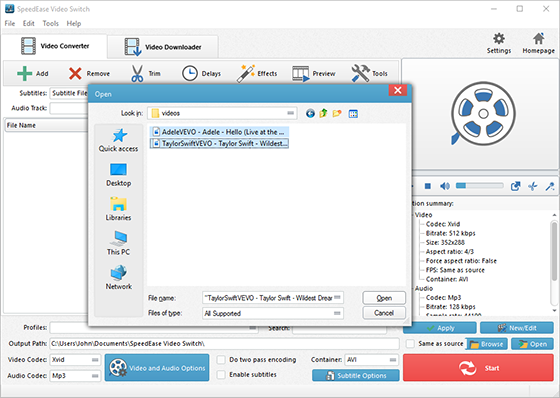
Click “Add” to import video files – to import one or more files, choose “Add Files”; to import a folder with video files, choose “Add Folder”; to import a folder with subfolder(s), choose “Add Folder Tree”. The you can use “Up” & “Down” to change the order.

Step 2. Choose Quality Presets & Codec
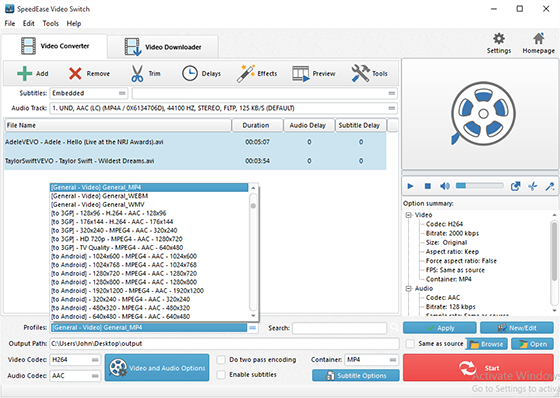
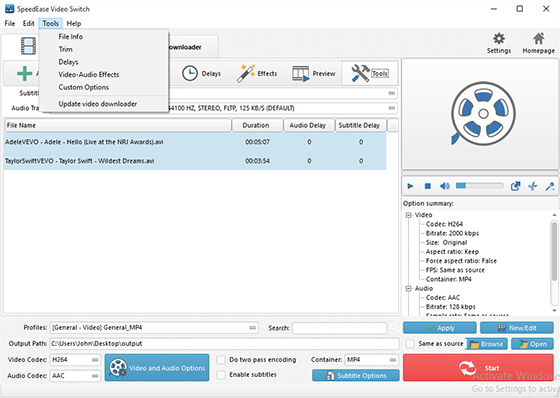
In “Profiles” menu, select the device you want to play the video on and you can see the details of the profile you select in the “Option Summary” panel at the right. Or you can directly choose “MP4” in “Container” menu. To edit the parameters of the profiles, click “New/Edit” and change the settings in the “Profile Editor” Window. You are allowed to choose the video and audio codec as well as the encoder to use. To change the codec settings, click “Video and Audio Options” and set the options as you want. Choose output path by “Browse”.

Step 3. Start Conversion
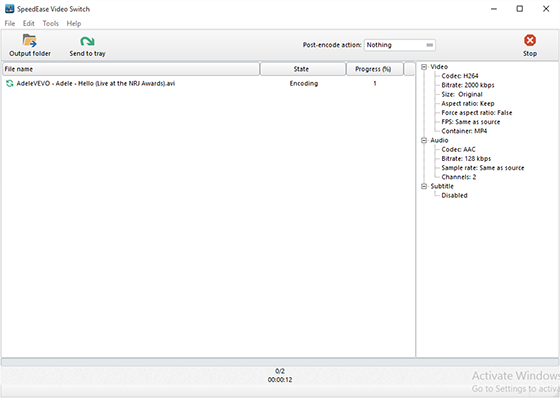
When all settings done, click “Encode” to start video conversion.


