Introduction
If you have made some home video for your wedding, the kids, the pets or interesting stuff, you may want to show them to your friends at a party. Then you should pick a DVD burner program to burn video to DVD and play them on the home DVD player. Magic Burning Toolbox is the right tool to do easily create a video DVD from your video collection.
Step 1. Launch VCD/DVD-Video Burner
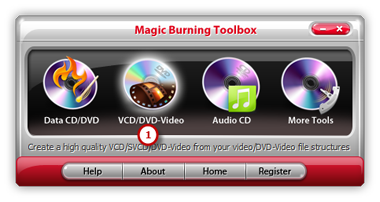
Launch Magic Burning Toolbox. Insert a writable DVD into your disc drive, click “VCD/DVD-Video” to run the video burner wizard.
Step 2. Select Usable Burning Device
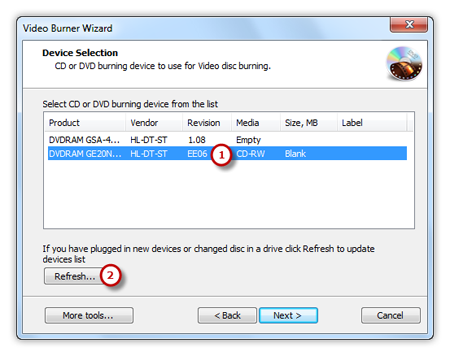
The burner will scan your system and list the available devices. Choose one of the usable burning drives from the list (the system will select it by default if there is only one). The “Refresh” button is provided to help you update the devices list in case you plug in new devices or changed disc in the drive.
Step 3. Choose Video Disc Type
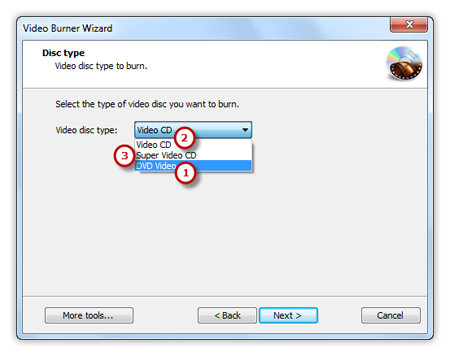
Select “DVD Video” from the dropdown menu of “Video disc type” to meet your demands. Another 2 types: “Video CD” and “Super Video CD” are also available for you.
Step 4. Add Source Video Files
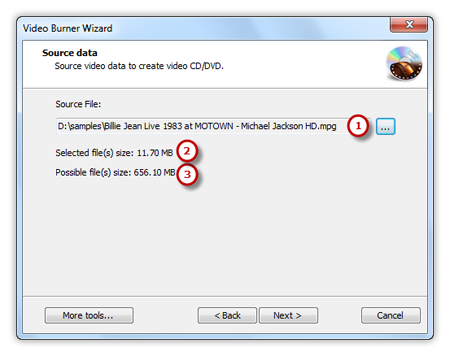
Click the square button to add source video file you want to burn and you can have a review of the selected file size & possible file size (if you want to burn video DVD, add premastered VIDEO_TS folder; burn video CD, add MPEG1 file; burn super video CD, add MPEG2 file).
Step 5. Select Burning Mode and Burning Speed
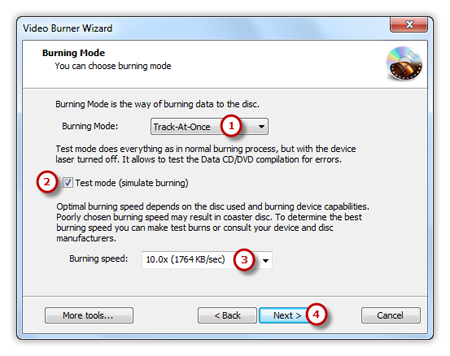
Select one burning mode from the Track-AT-Once, Session Track-AT-Once, Disc-AT-Once PQ and Disc-AT-Once raw P-W as needed . You are allowed to use Test Mode to simulate burning for checking errors. Then, choose the appropriate burning speed . Click “Next” to start burning and wait until the process bar reaches 100%. The disc will eject after the video DVD has been completely burned.
